- Русский
- English
How to connect ASCN MCP to Claude Code to collect automation and AI agents
How to build AI agents or automation without code and in just 15 minutes?
It's time to use ASCN as an AI assistant. Assemble any agents by describing the general logic in your own words, and the AI will create the structure for you, connect the necessary integrations - and all this without a single line of code!
Now we will connect ASCN MCP to Claude Code in 7 minutes, so that you will have a personal AI assistant who will implement agents for you instead of technical specialists
Why connect ASCN to Claude Code
Claude Code is a simple agent-based tool for writing code based on artificial intelligence (LLM from Anthropic). But to build full-fledged automation and AI agents that will work independently and at the same time be configured without code, it cannot until we connect a full-fledged tool to it (we don't give it a handle) - that's where ASCN is needed
ASCN MCP are the "claws" for modern AI tools, with which you can implement almost any automation
| Claude Code without ASCN | Claude Code with ASCN |
| Builds solutions through code, which will then require running on its own server, which will have to configure | Collects a variety of solutions through the No-Code platform (ASCN.AI No Code), which can be run immediately and are very easy to set up without programming knowledge |
| A deep understanding of automation and a detailed description of the logic are required for a good solution. | Described in simple human language exactly what kind of automation you need to build and how it should work. After Claude, I immediately put together a working prototype at ASCN, which can be launched in one click |
| It is difficult to manage the solution after its creation without a technical specialist | The solution has already been assembled in the form of simple blocks(like LEGO) and Claude can immediately write instructions on how to manage an agent in ASCN without a specialist |
| Builds MVPs, prototypes, automation based on clean code, which are difficult to scale and test without code knowledge | Builds MVPs, prototypes, and AI agents in NoCode and makes it very easy to scale for your business or client |
| Through ASCN, Claude can digitize your tools (your automation and AI agents) in the form of a digital specialist who will be your autonomous assistant, solving tasks for you | |
| It can package your API in MCP so that many users can connect it to LLM and use it in their tasks | |
| Uses ready-made solutions that have been assembled by specialists to solve specific tasks | |
| Through ASCN, you connect hundreds of integrations to CloudeCode at once, through which it can assemble almost any solution from your head |
Thanks to our MCP and Skills, your ClaudeCode can assemble agents that will work and bring you real results
Let's upgrade your ClaudeCode!
⚡Getting started
Now we will connect the ASCN service with you via ASCN MCP and Skills to Claude Code, so that you can use our AI assistant to build automations and AI agents directly through Claude (or Claude Code)
First, install Claude Code on your macOS/Linux/Windows (See the article for all the examples on the macOS operating system)
There are several options for downloading Skills and MCP, but we'll go the easiest way, right through the Claude Code itself (if you have enough knowledge, then you can use the commands yourself through the Terminal - most likely you already know how to connect MCP and Skills)
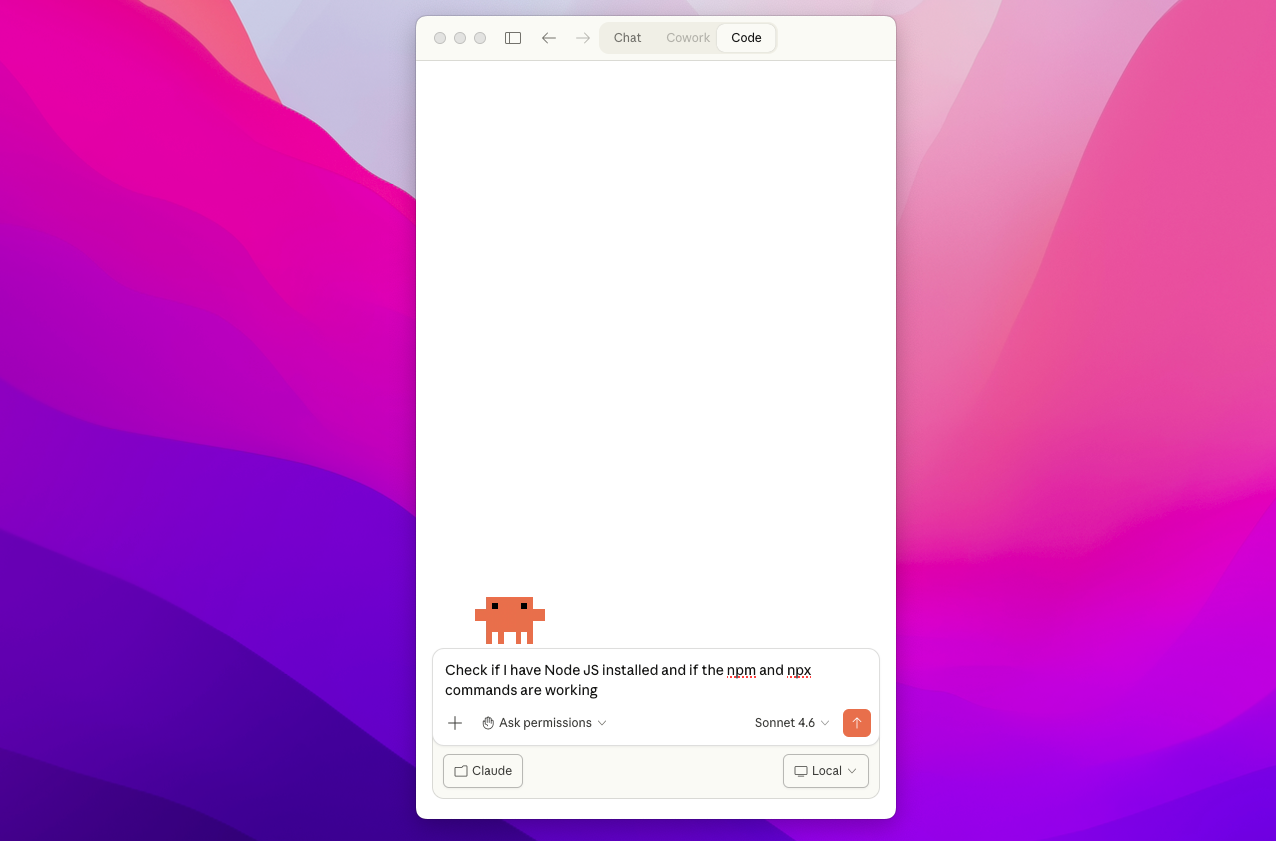
Opening the Claude Code:

⚡ Checking NodeJS
First, we need to check whether NodeJS is working and installed on your device, and whether CloudeCode sees it. (If you have been using Claude Code for a long time, then there is a 99% chance that NodeJS is already installed and working for you)
To check, enter the following command:
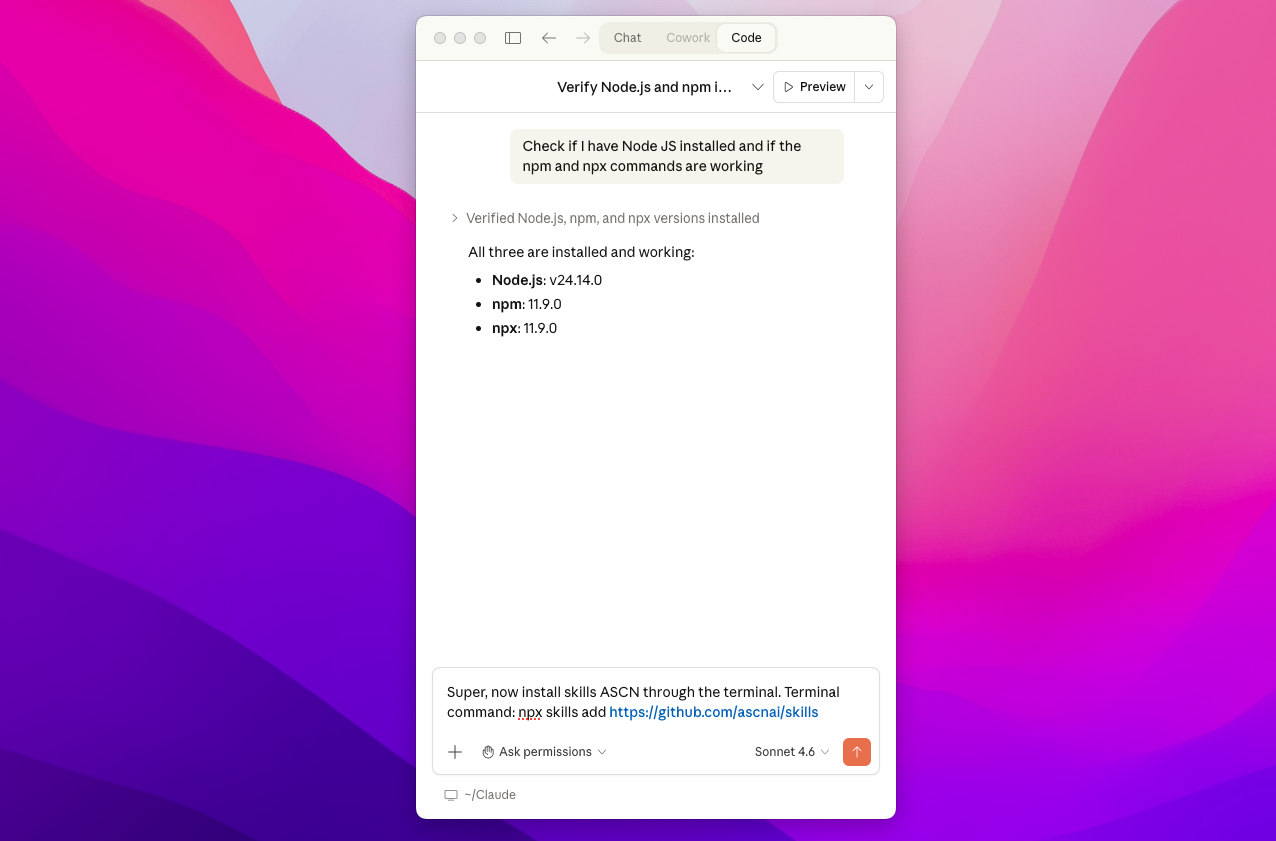
Check if I have Node JS installed and if the npm and npx commands are working

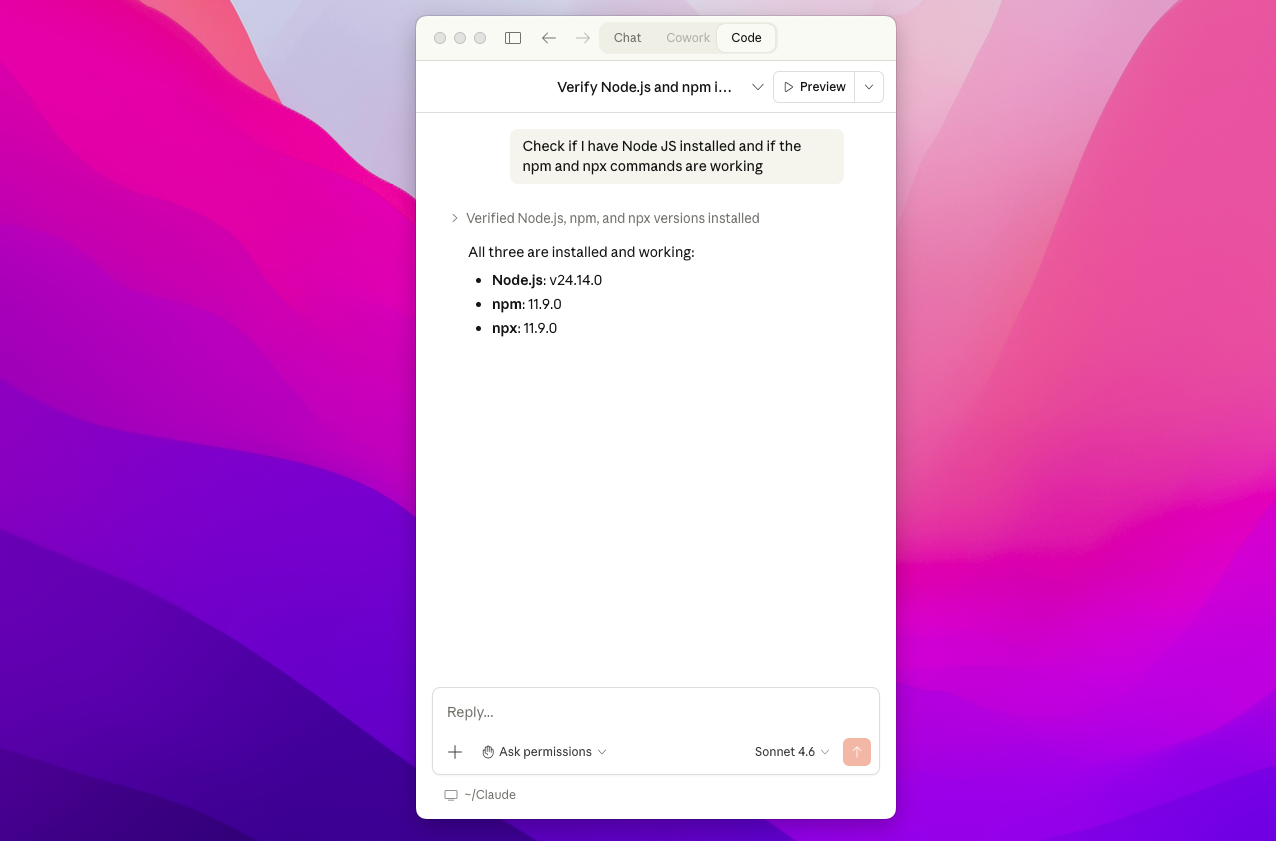
There are two options:
1) (As in the screenshot) You have a version and there are no errors, then we can move on, congratulations on the first step!
2) If you have any errors, you can: Ask Claude Code to update npm and npx for you (write to him in the chat) or download and install NodeJSfollow the link
⚡ Installing ASCN Skills
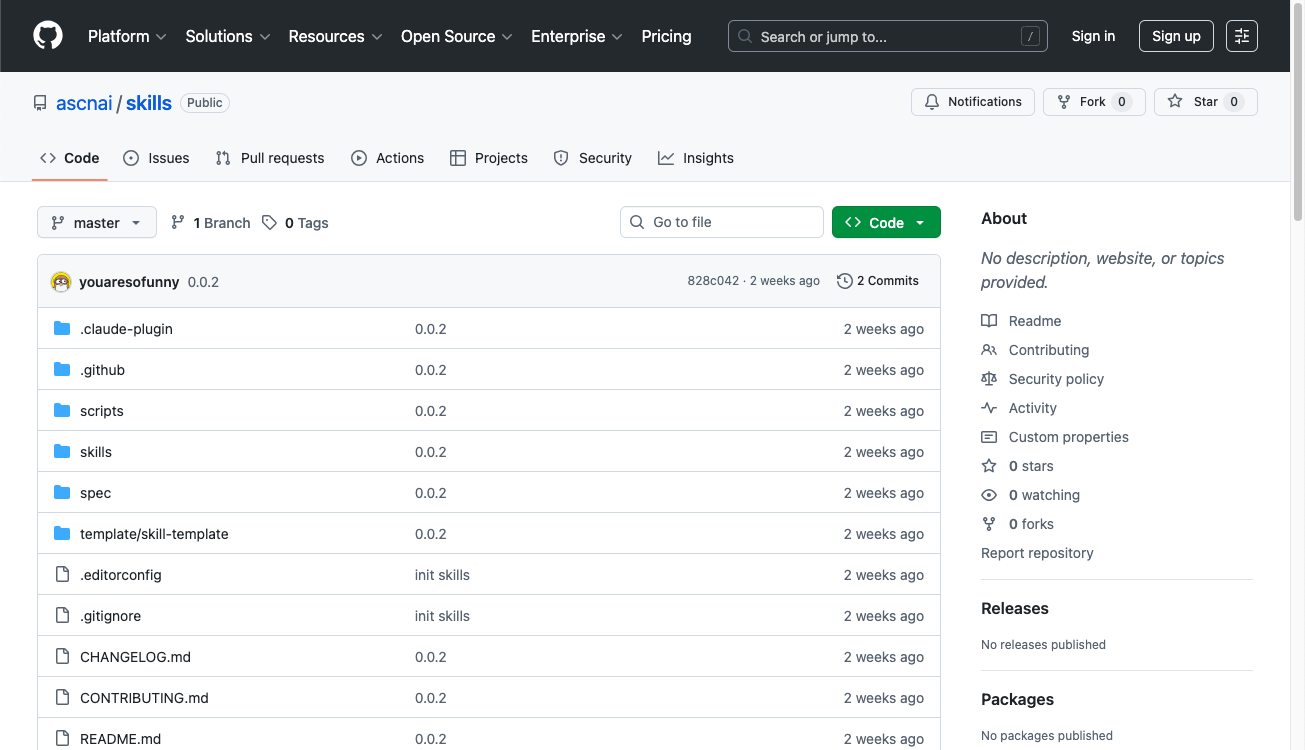
Now let's ask Claude Code to download ASCN Skills from the open GitHub repository (link), having written the following task:
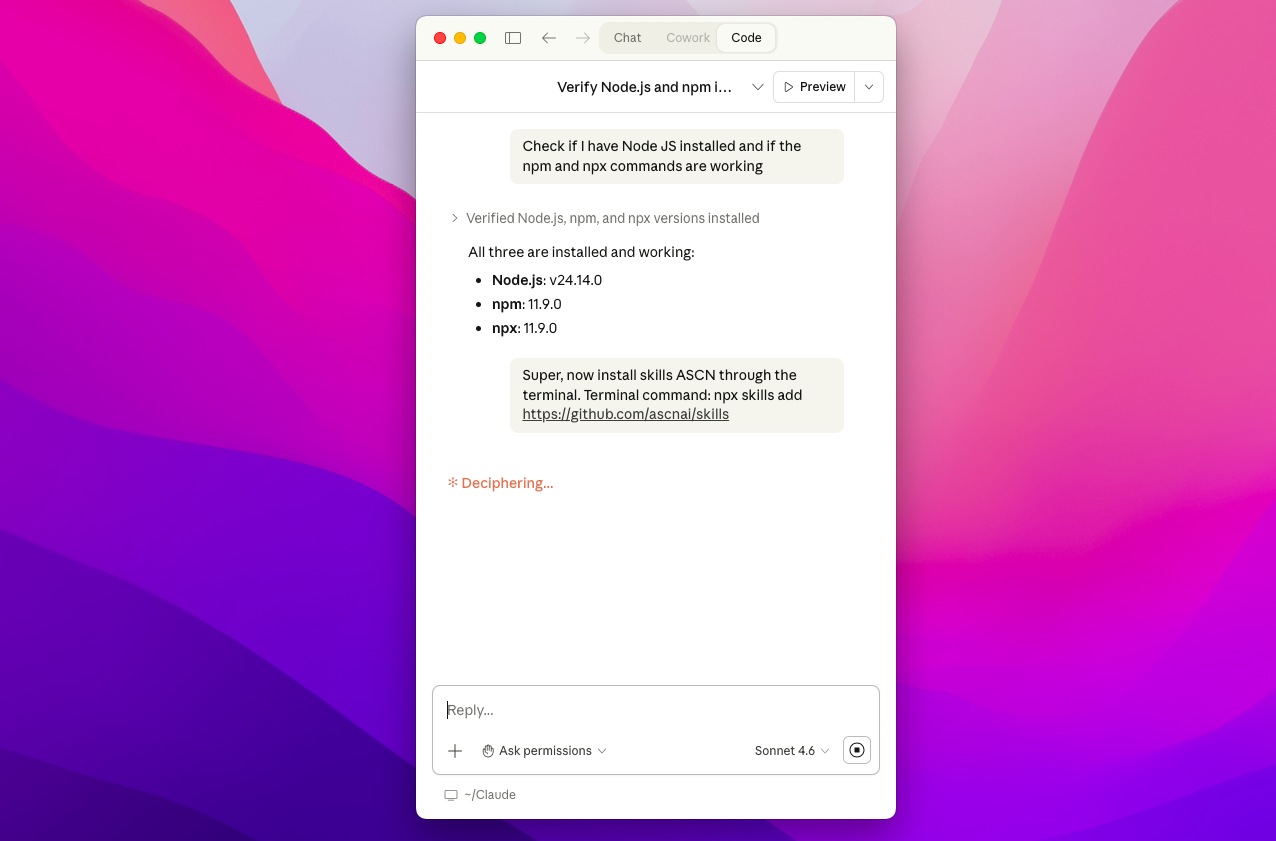
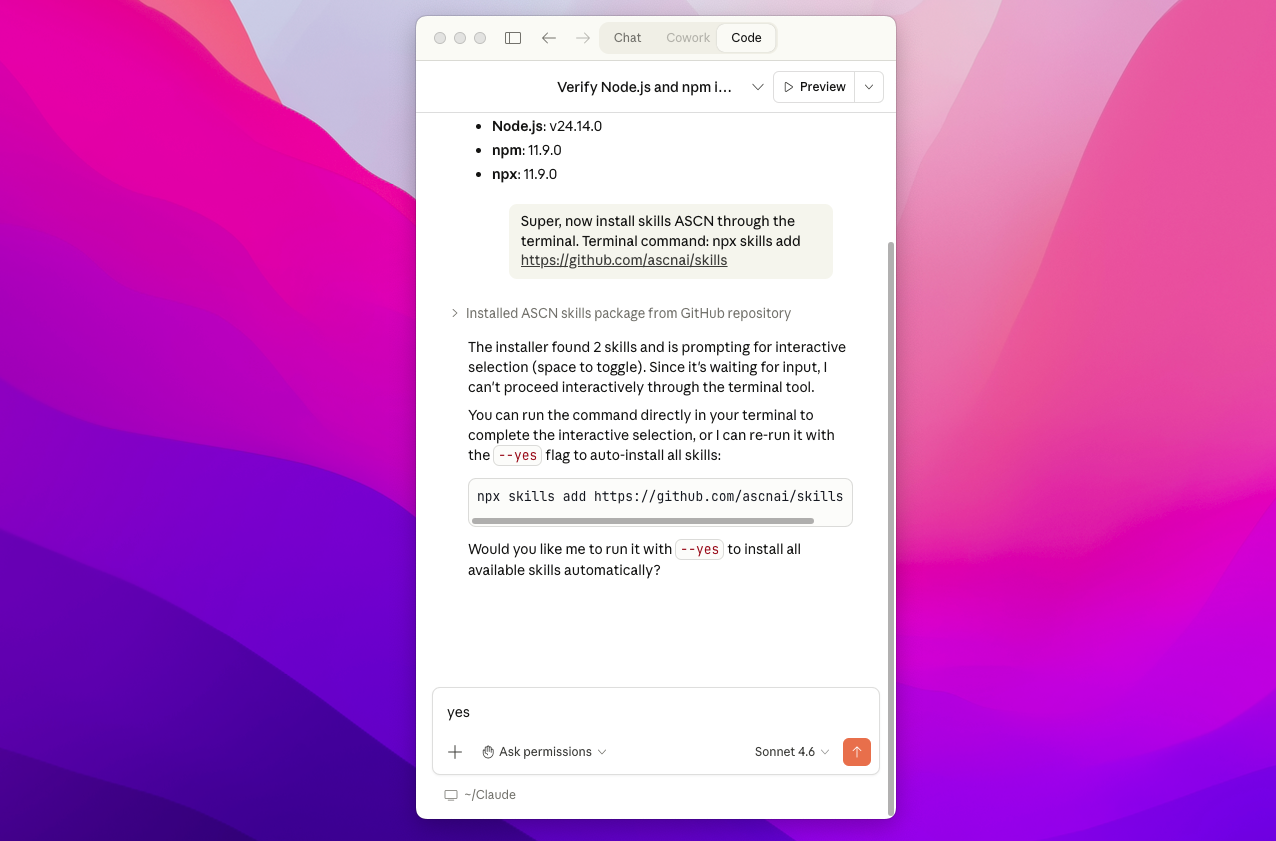
Super, now install Skills ASCN via the terminal. Terminal command: npx skills add https://github.com/ascnai/skills
If you want to learn exactly how Skills ASCN works, then the details are on GitHub
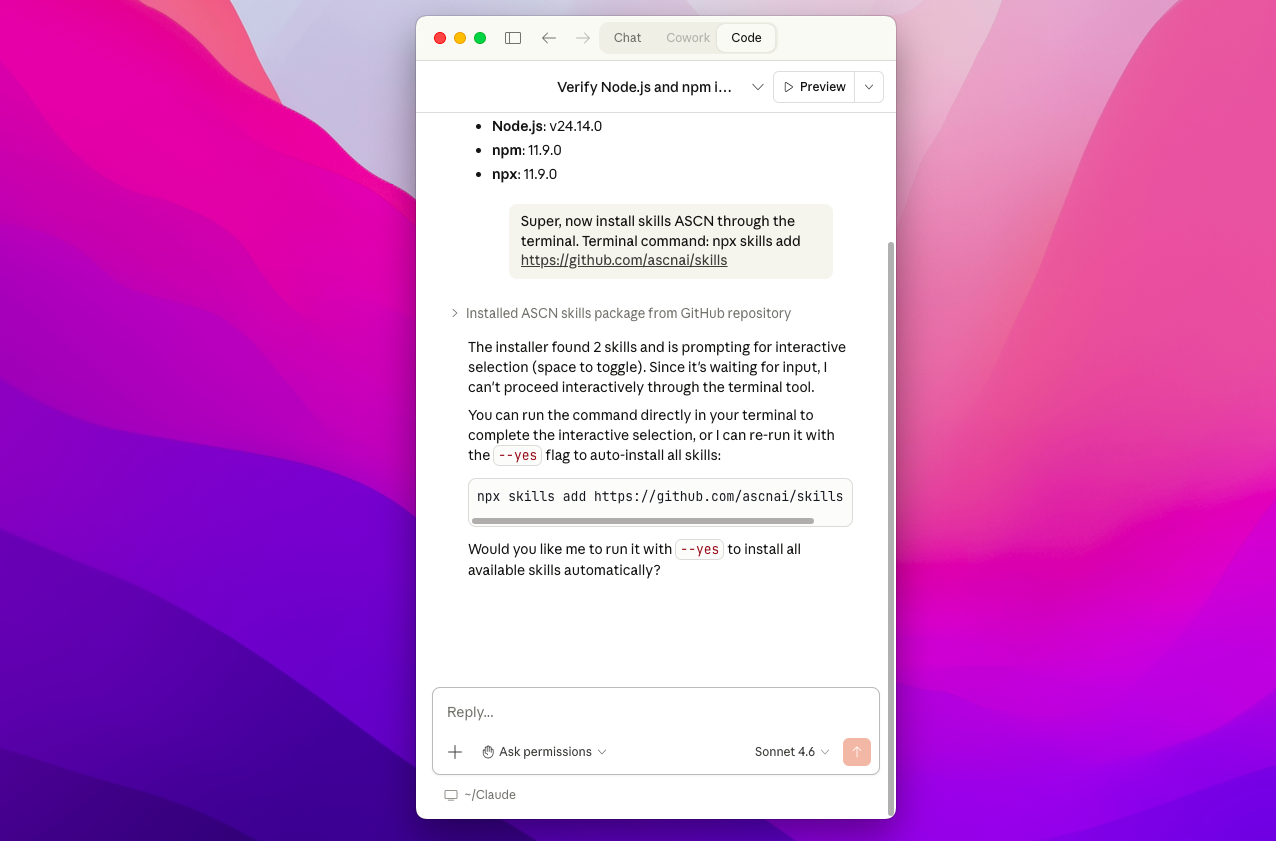
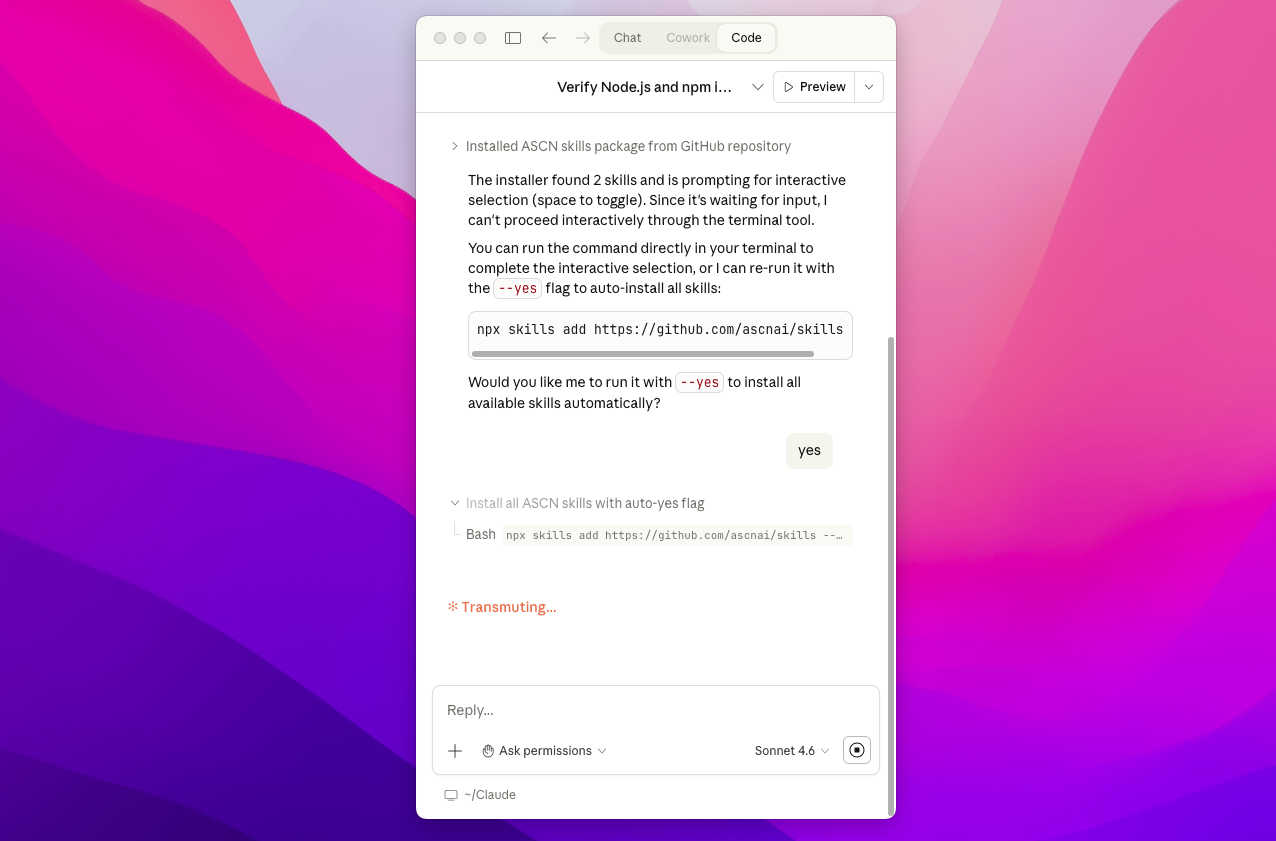
During the execution of various commands, Claude Code may ask you to give it the opportunity to register --yes to confirm the ASCN Skills set
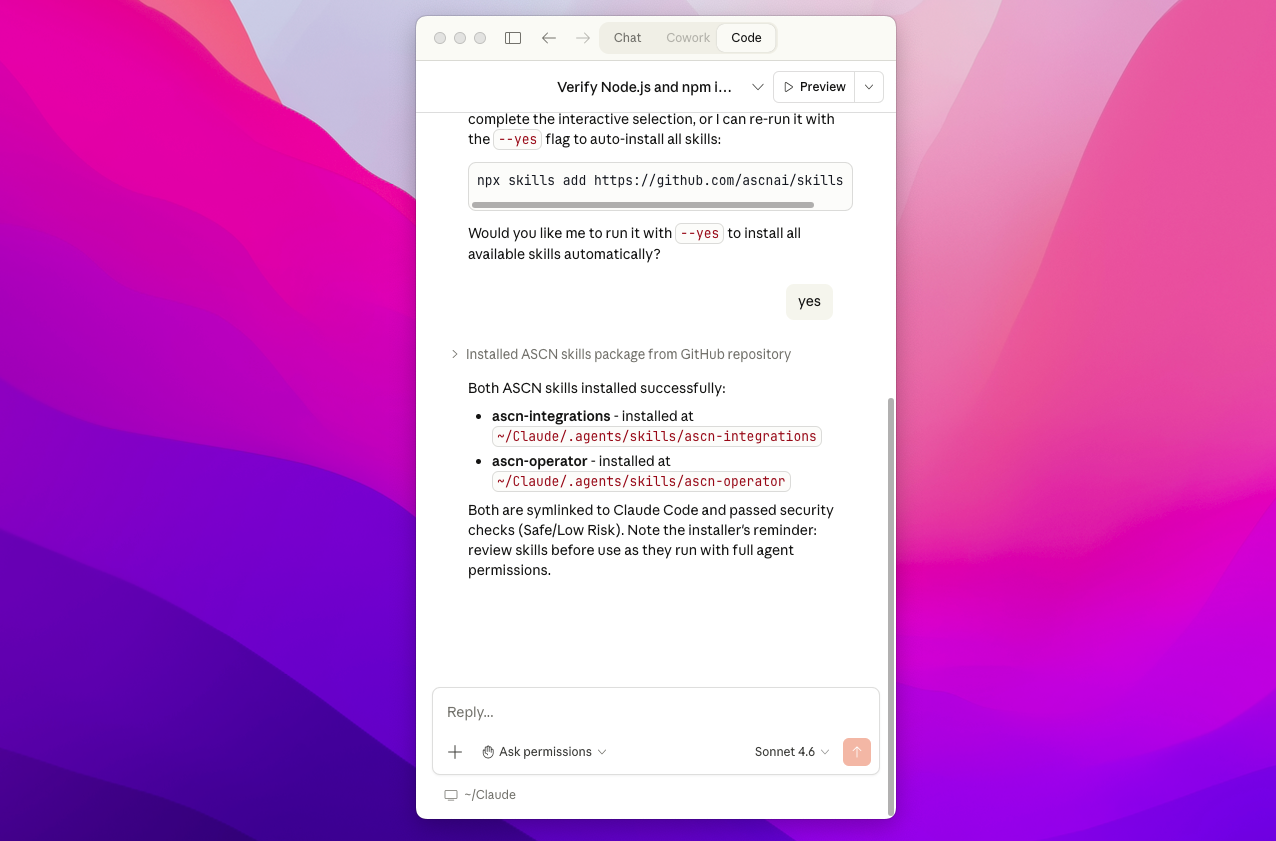
Super! Skills are already in your Claude Code - we can assume that the ASCN tool is already connected to Claude, now all that remains is to give access to your account so that Claude can work offline.
If you encounter any errors, you can always write to our manager: Write to the manager
⚡ Connecting MCP ASCN
Now let's move on to ASCN.AI
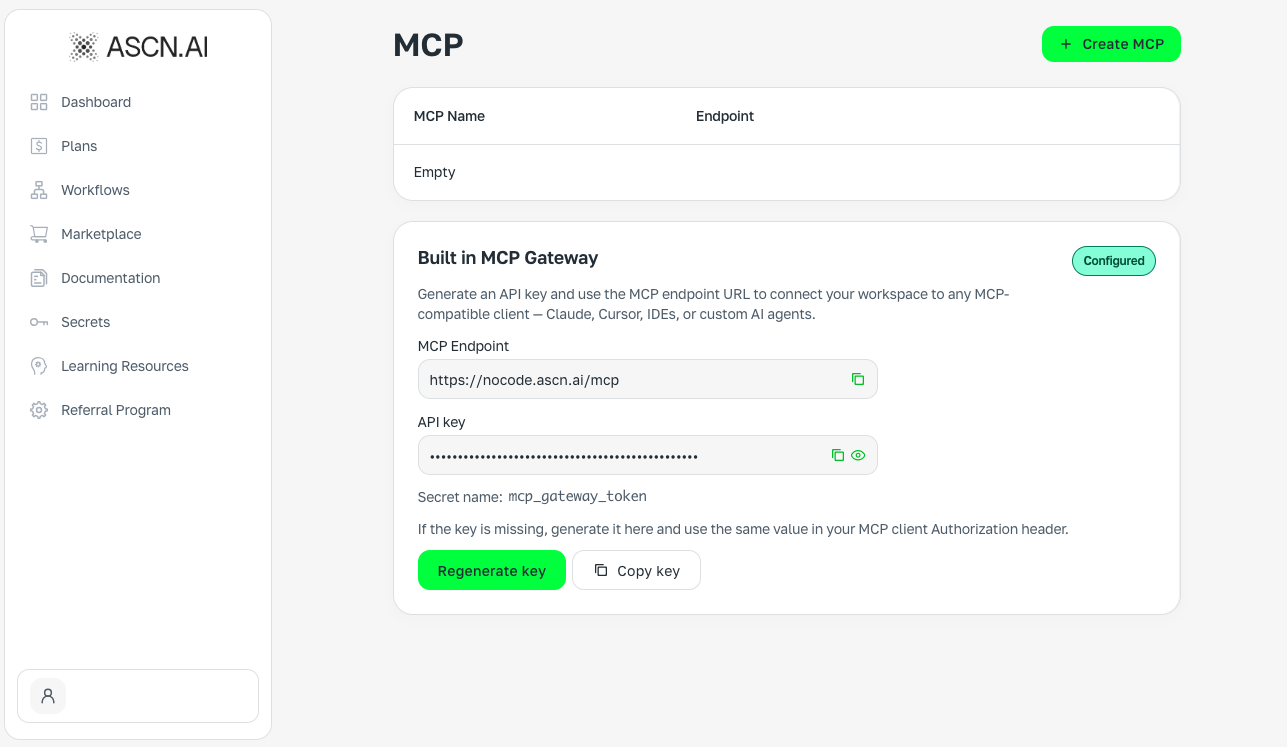
Log in to your account and follow the link: https://ascn.ai/no-code/mcp-list to get to the MCP menu. Create an MCP key:
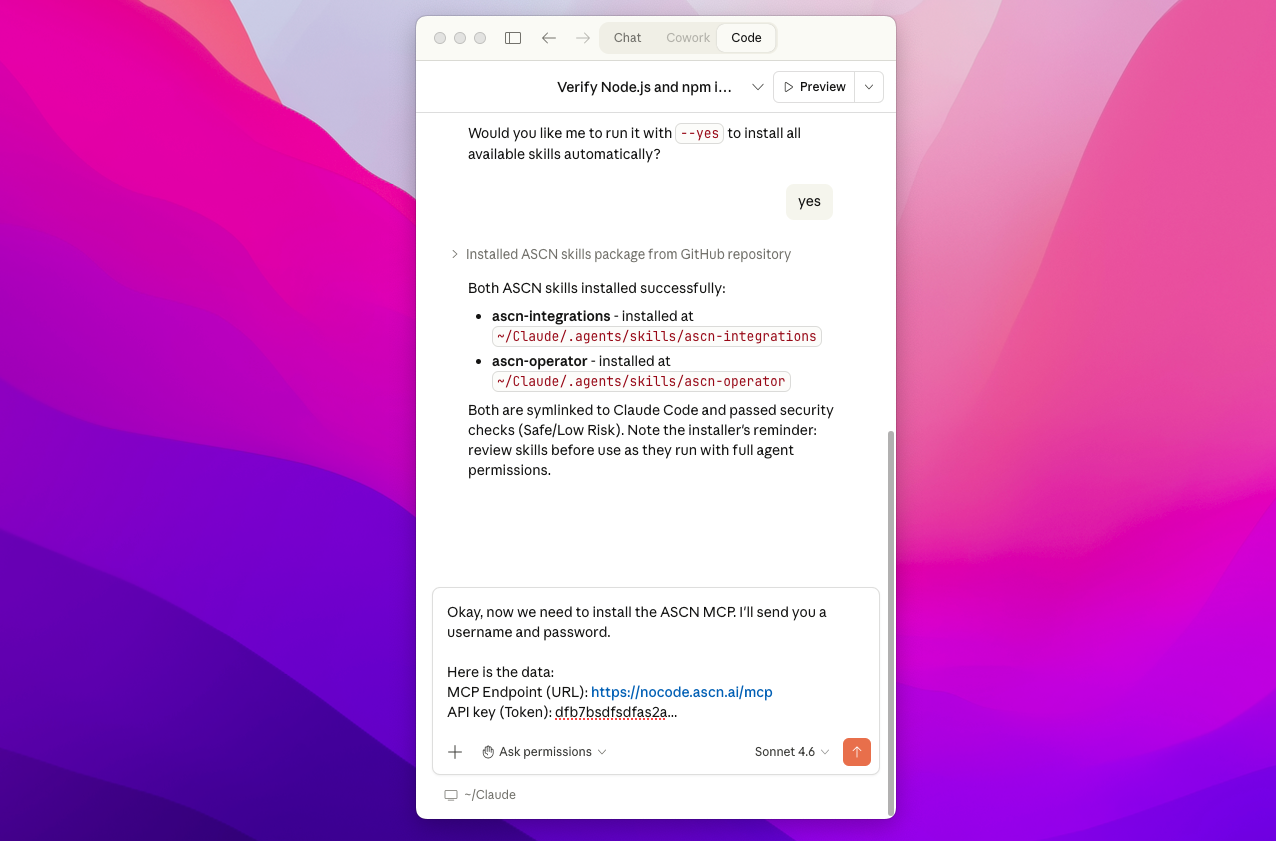
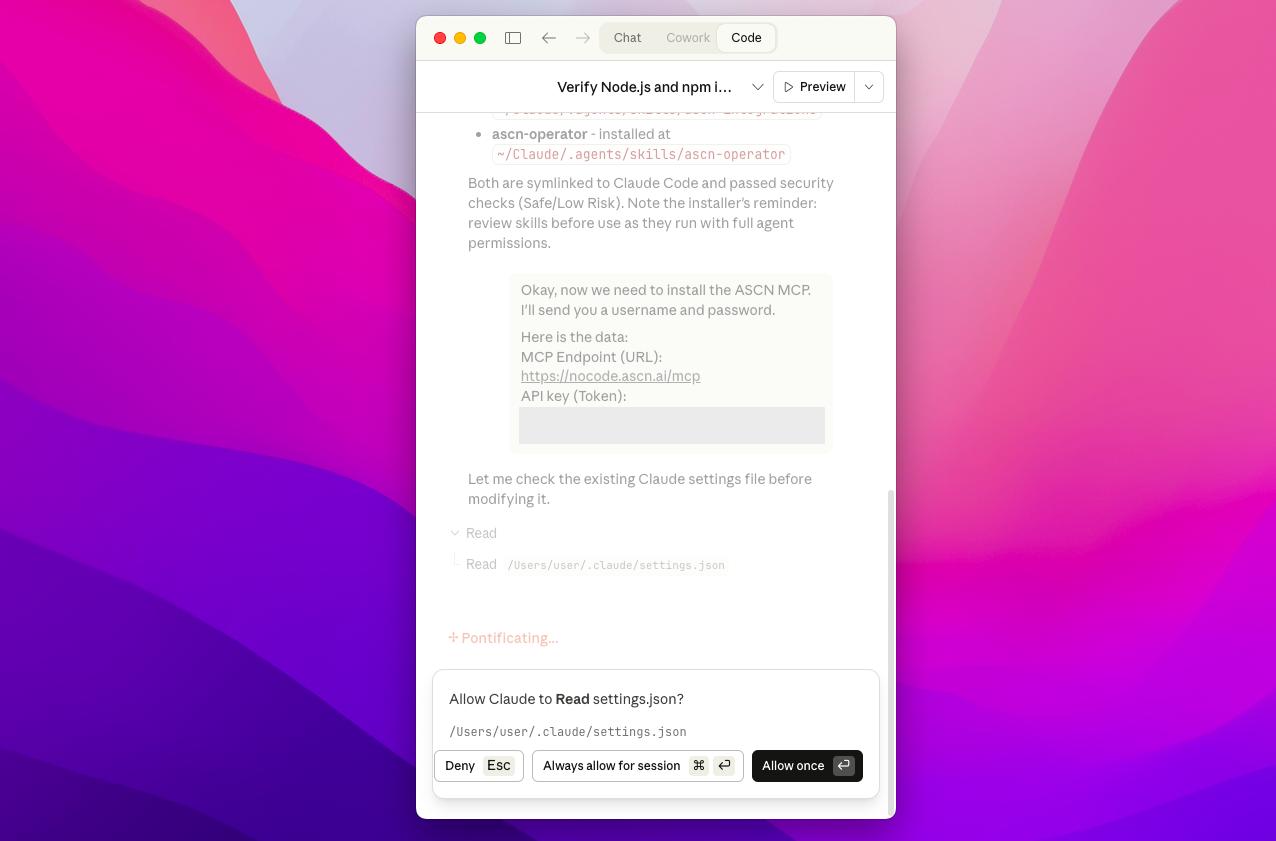
Then go back to Claude Code and write the following message:
OK, now we need to install the ASCN MCP. I'll send you the username and password.Here is the data:MCP Endpoint (URL): https://nocode.ascn.ai/mcp API key (Token): dfb7ba... (your MCP ASCN token should be here)

Super, now everything is ready to use the AI assistant right through the Claude Code! Congratulations to you!
If you have any errors, you can always write to our manager: Write to the manager
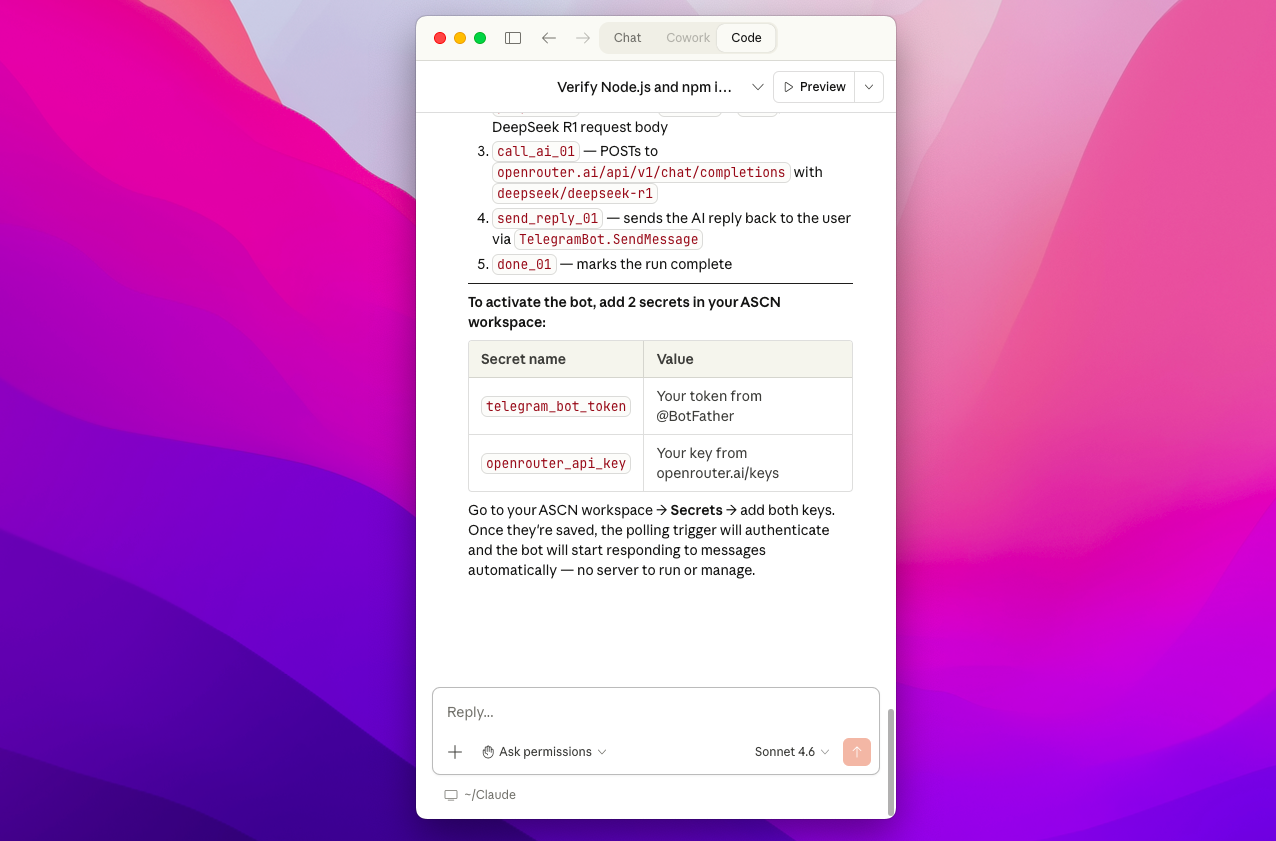
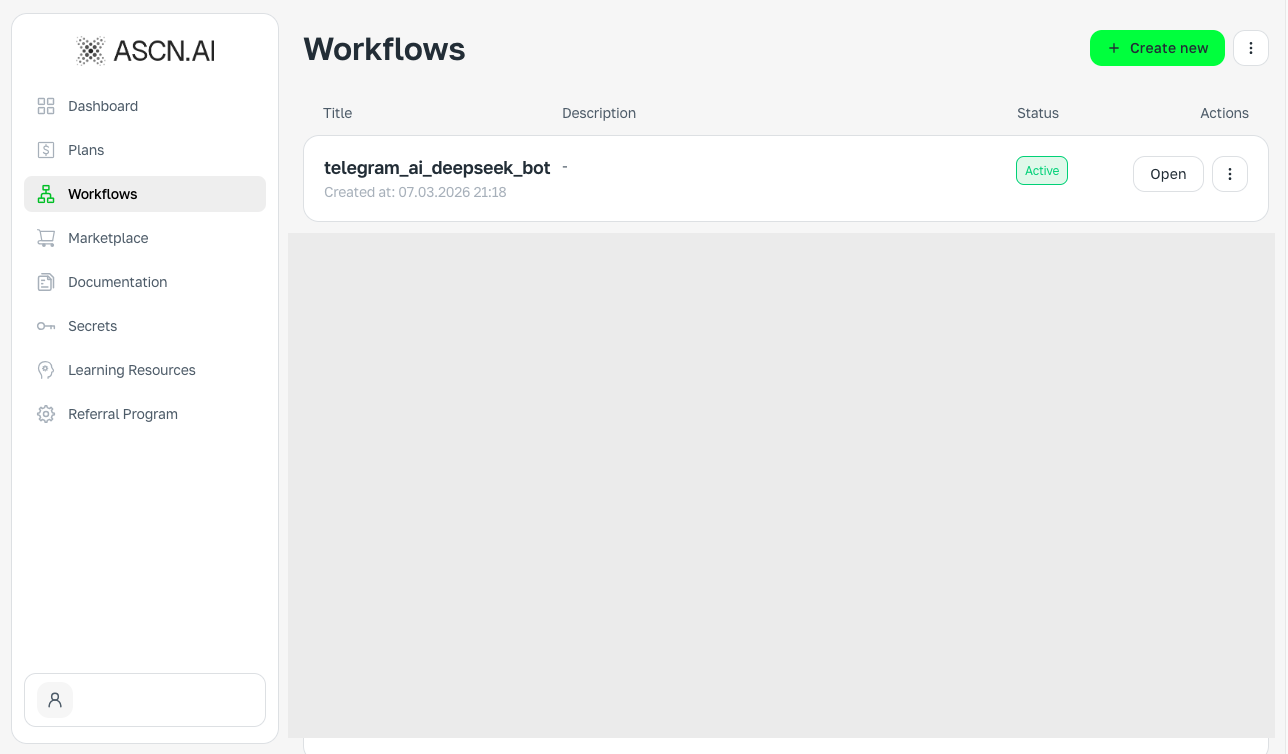
⚡ Testing the MCP - Building simple automation

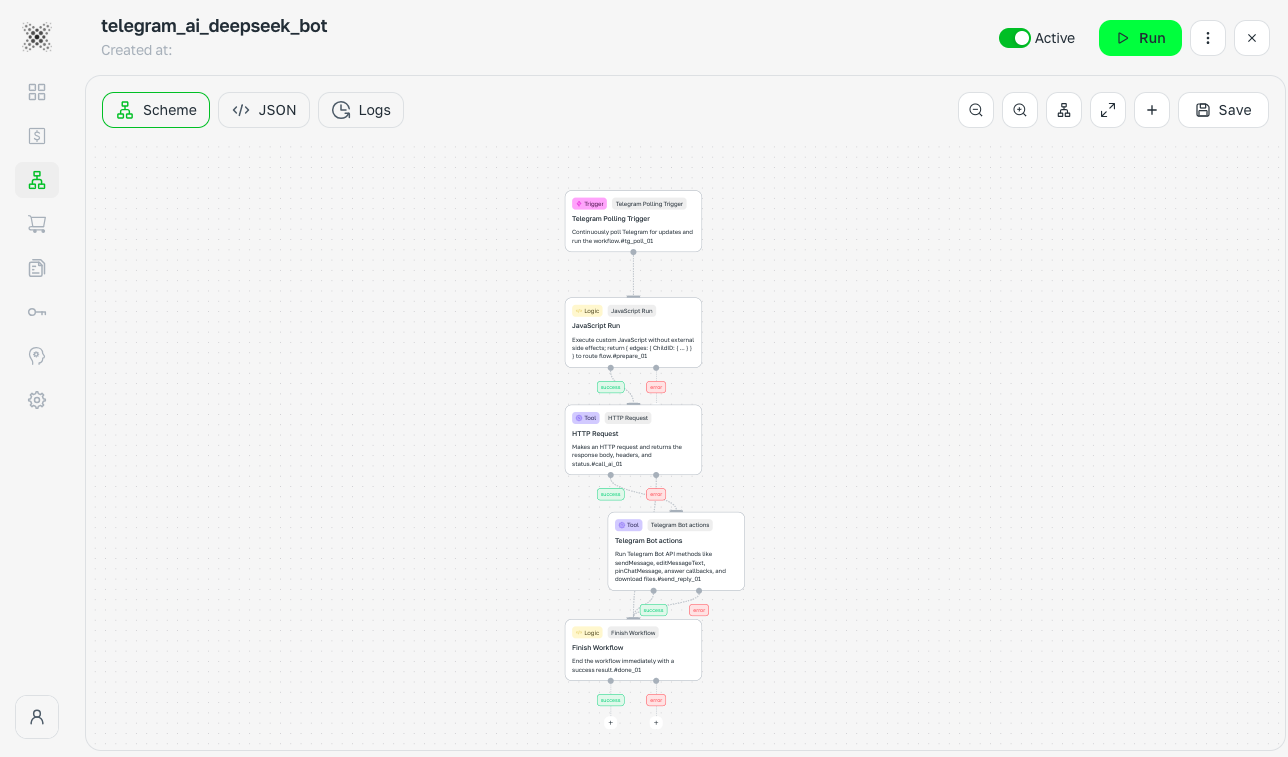
🔥 Output
Without ASCN NoCode (MCP/Skills), it is very difficult to assemble high-quality automation or a working AI agent without a complex architecture or programming knowledge in Claude Code
And the most important thing is that it took us only 7-10 minutes for you to have a full-fledged working tool, through which you will change your approach to agent development
AI agents are not "hype", they are reality. Automate your life, business, and work and get maximum efficiency
And if you don't know "What exactly to assemble" or "What should I automate" - take ready-made solutions from the marketplace
How can you use ASCN and what is it for?